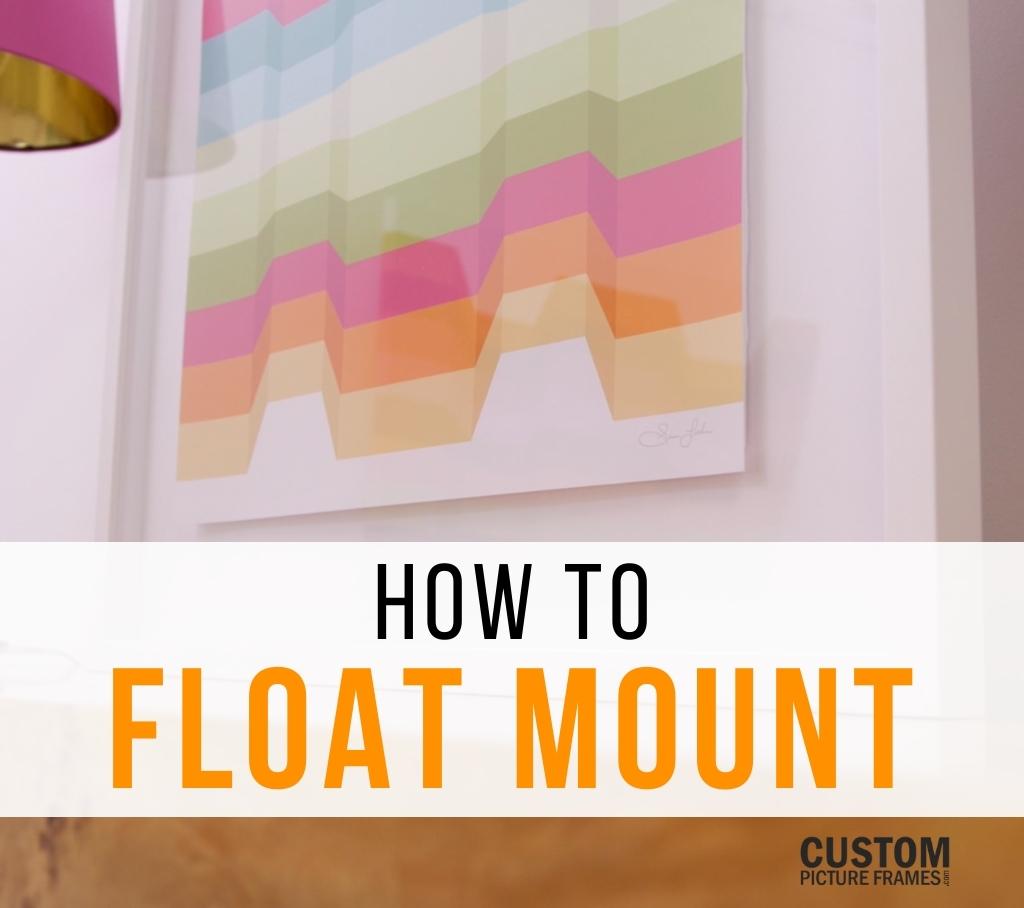
Float mounting is a cool technique used to raise your art slightly above the backing and make it appear floating. This mounting method is a way to add depth and dimension to your display. From photos and art, textiles or objects, it helps to show off any unique edges or emphasizes the depth of 3D objects.
Luckily for you, float mounting is easy. Follow along with this tutorial to make your art, textile or object look like it was framed in an actual custom framing shop - for a fraction of the price!
To float mount your art, you'll need a frame, mat board, foam core, frame spacers, tools like a small utility knife, scissors, art tape, ruler and pencil, and the art piece of your choice.
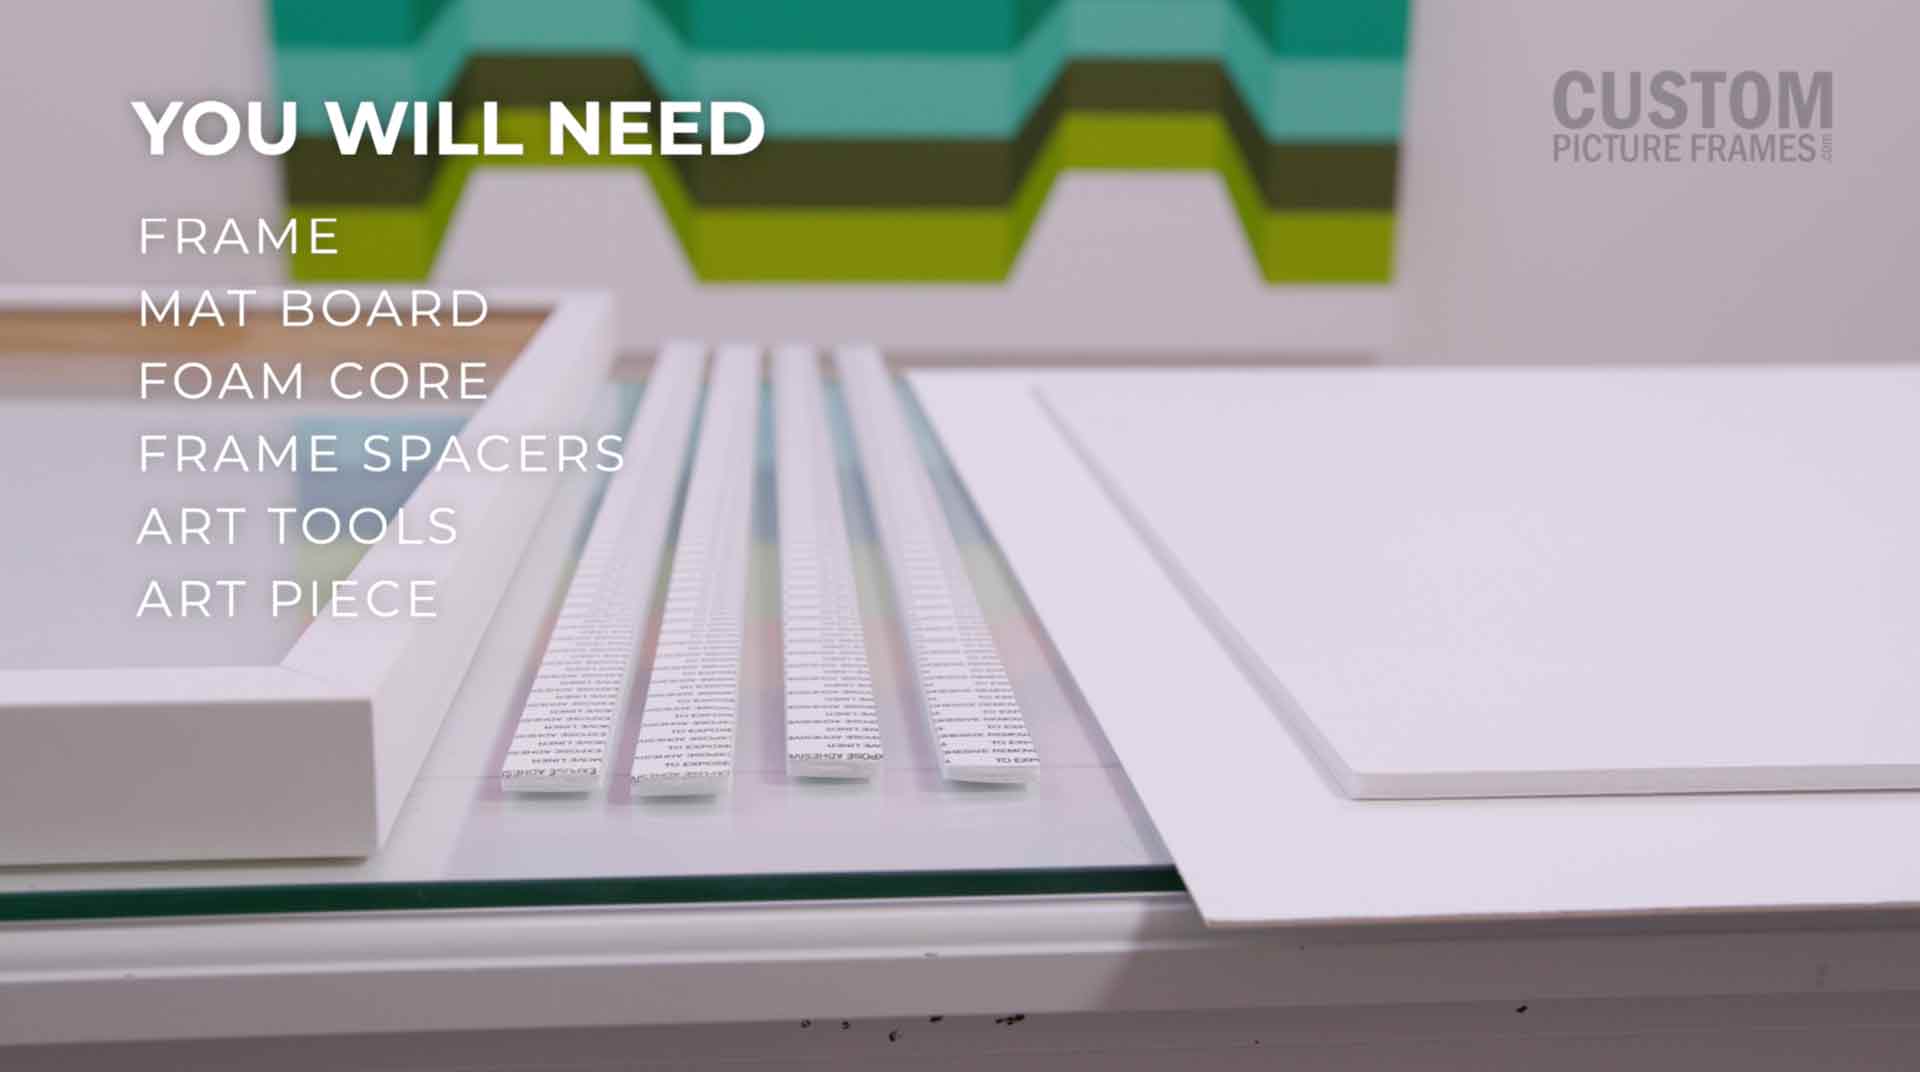
When choosing your frame to float mount your art in, you want to make sure that it has enough space inside for the art to breathe. The art should not touch the glass and should have enough room for a piece of foam core to fit behind it. You can sort by frame depth in our picture frame or shadow box sections to find the perfect depth for your object.
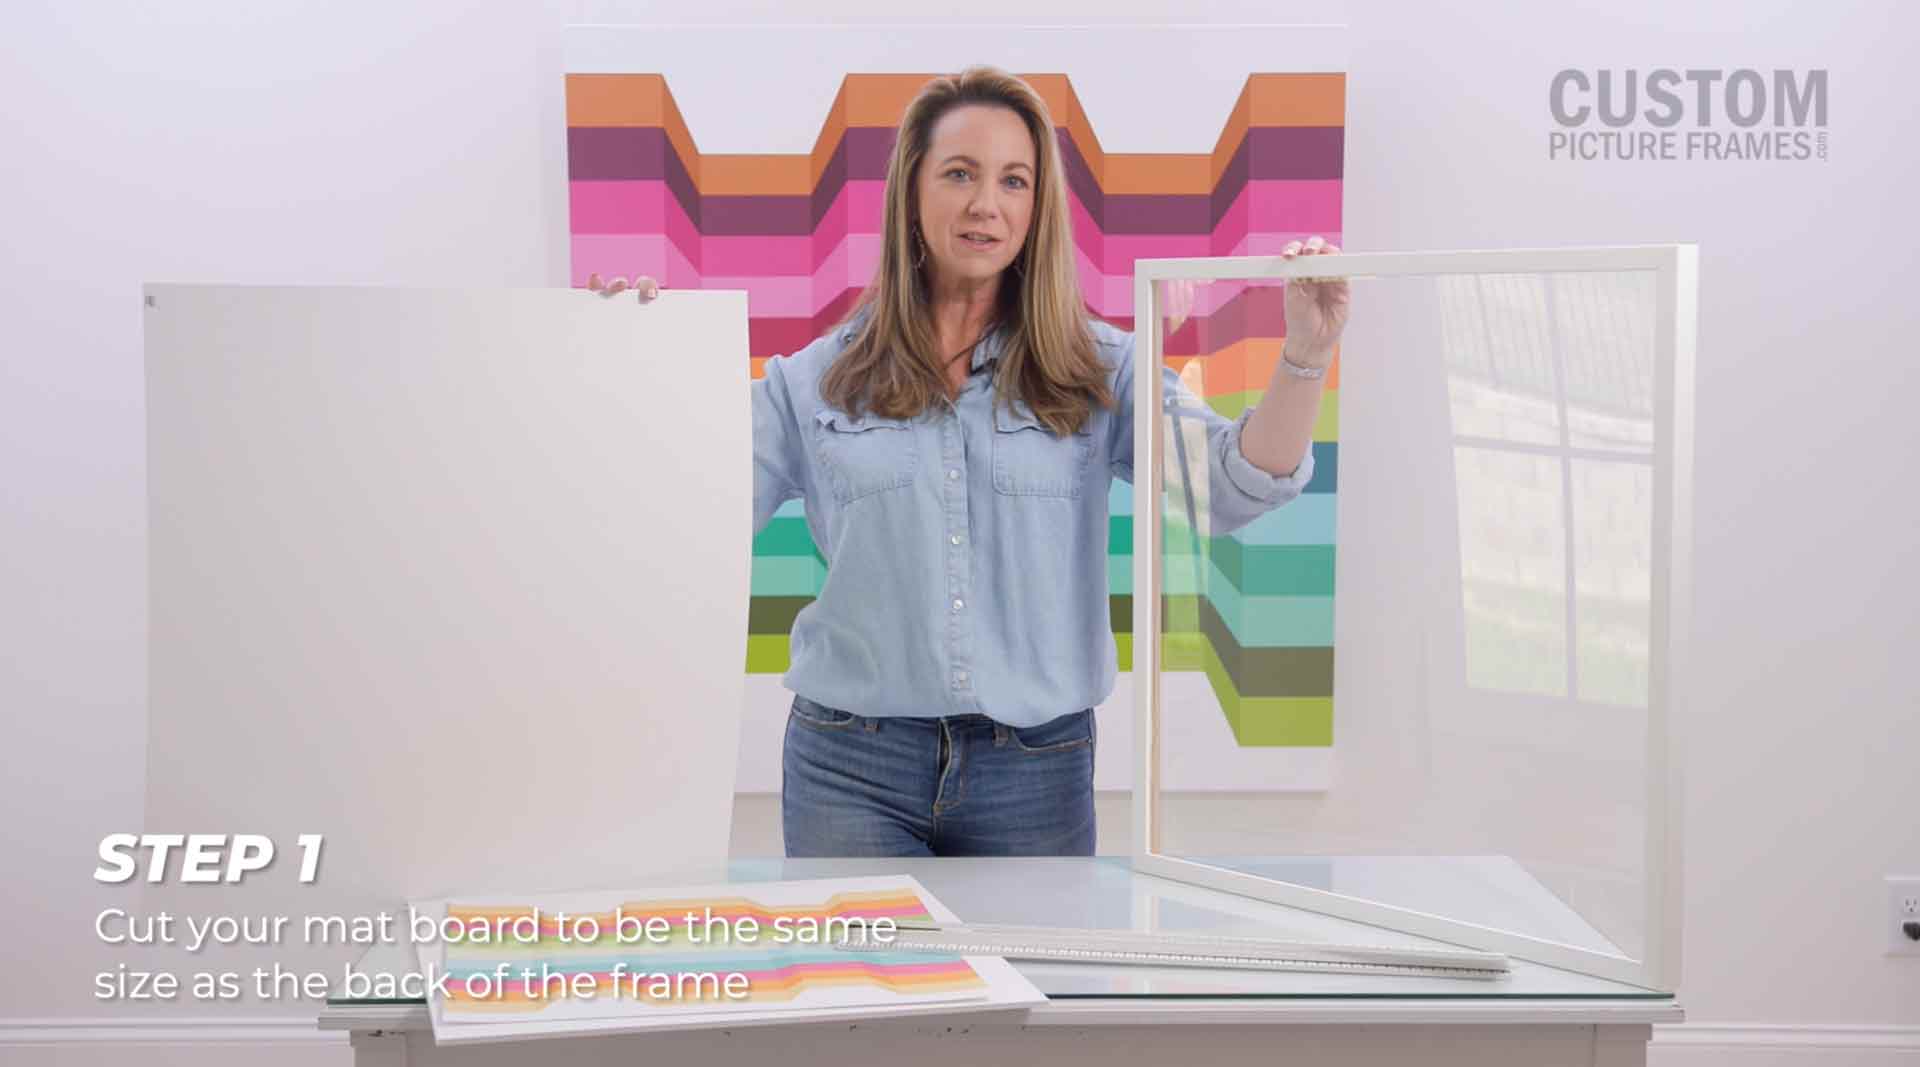
Step 1: Cut your mat board to be the same size as the back of the frame. All of our frames come with a pre-cut backing, so if you've ordered a custom frame from us, you can skip this step.
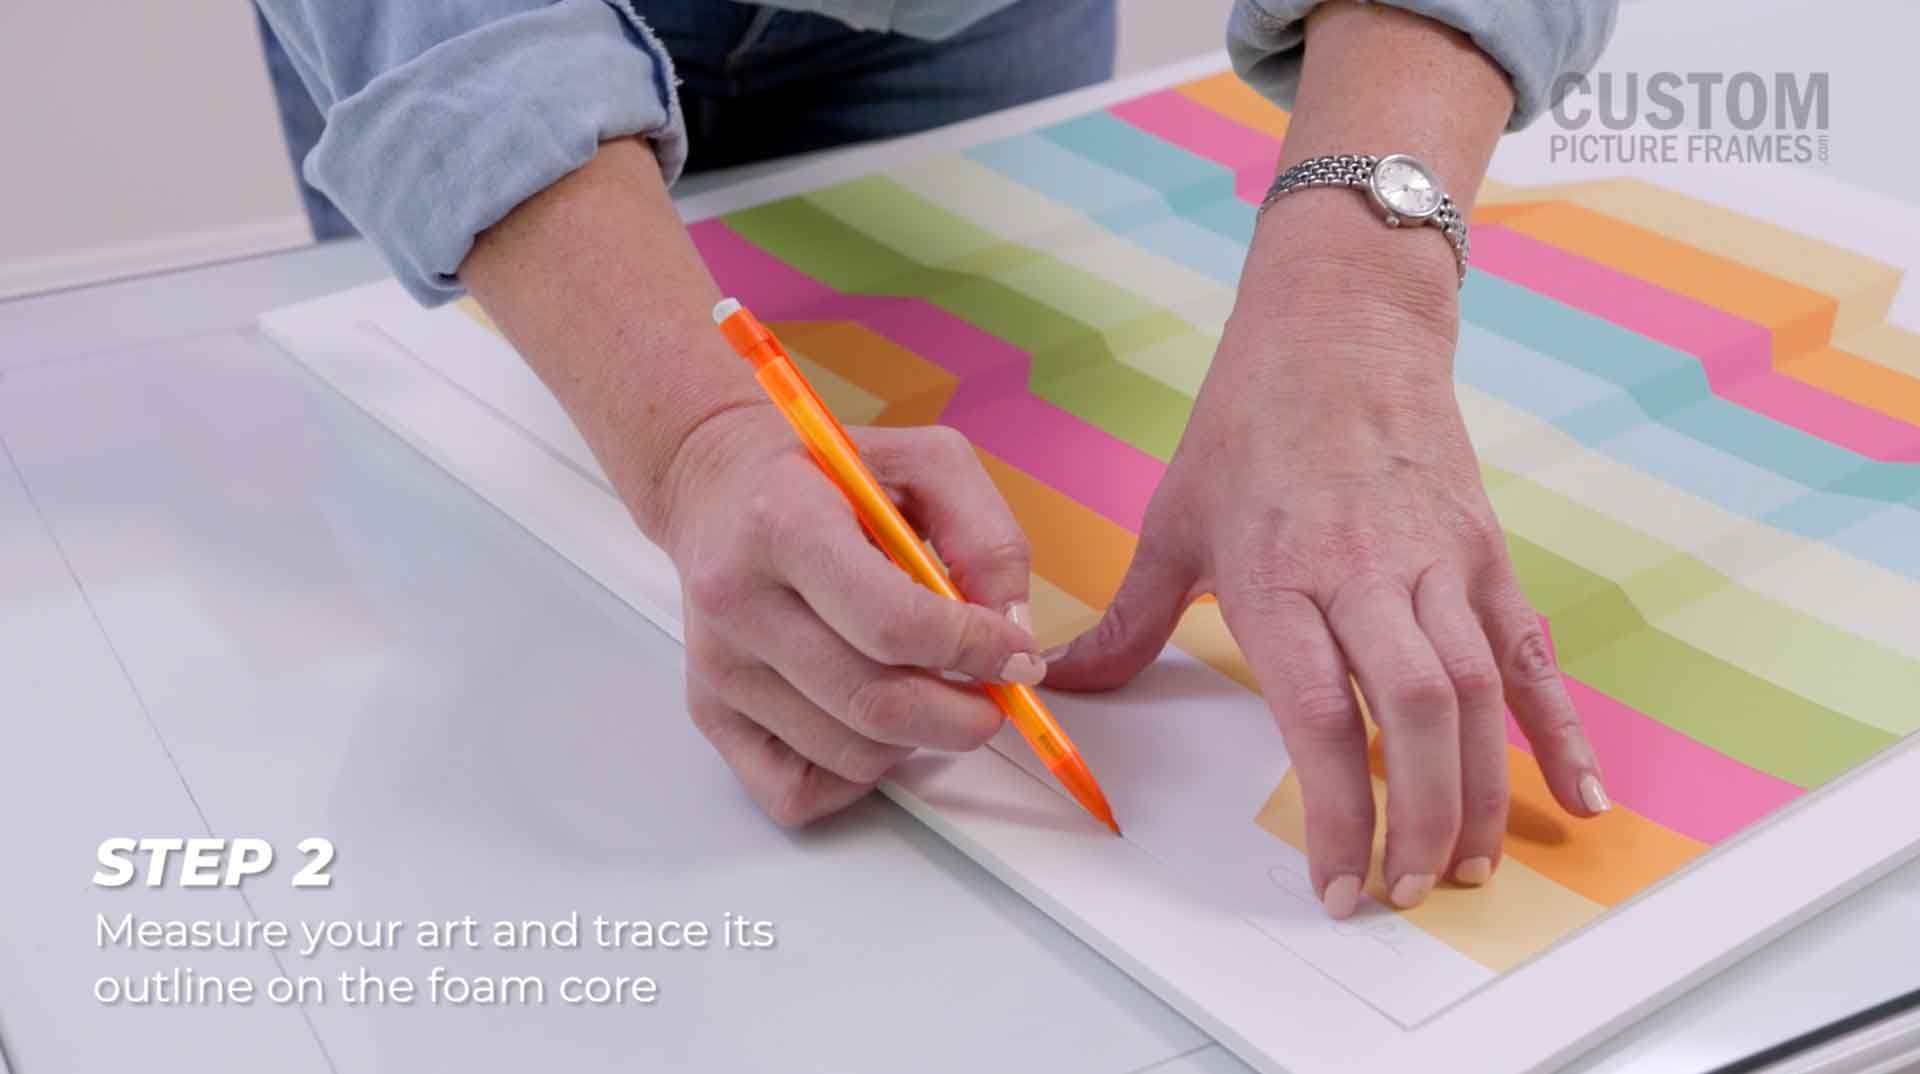
Step 2: Cut the foam core about a quarter inch smaller than the art or object. It should be small enough not to see it when in the frame.
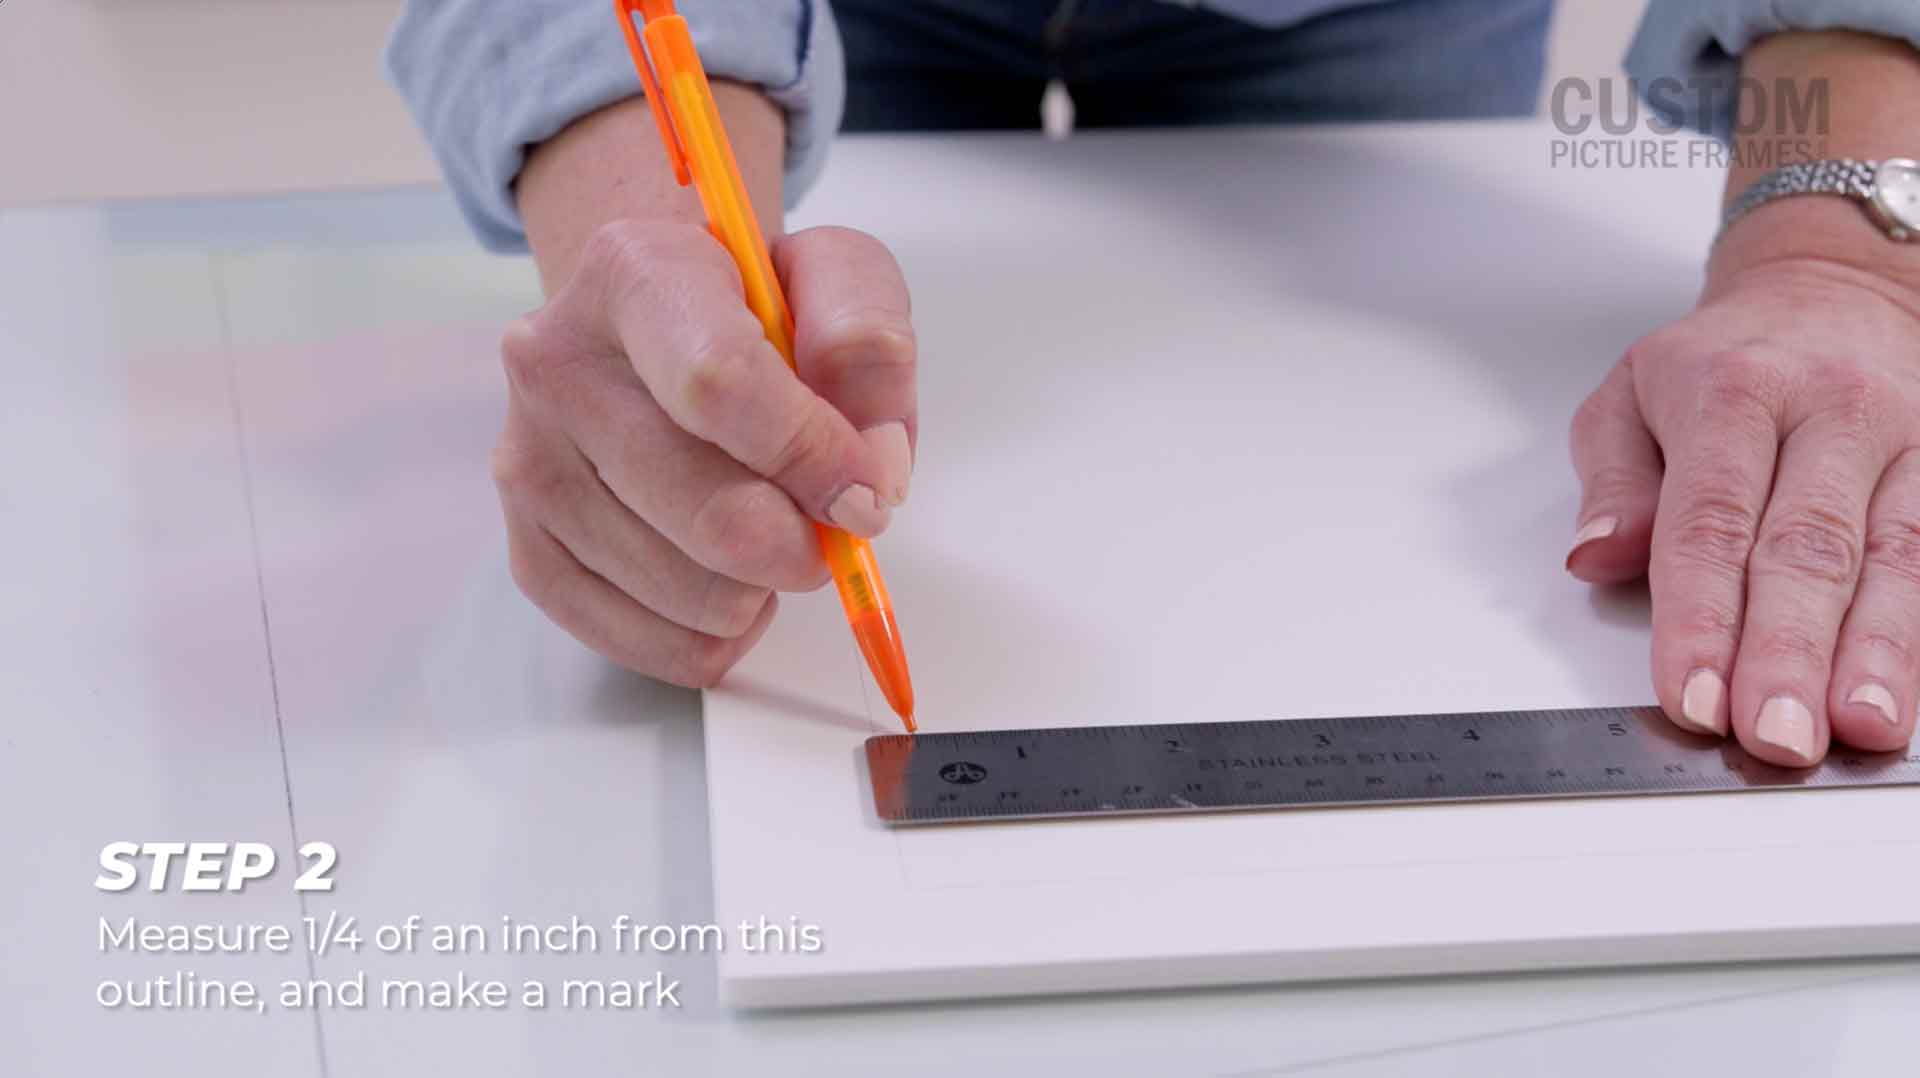
Measure your art and trace its outline on the foam core. Measure 1/4 of an inch from this outline, and make a mark. This will serve as your reference point to cut parallel to the outline of your art.
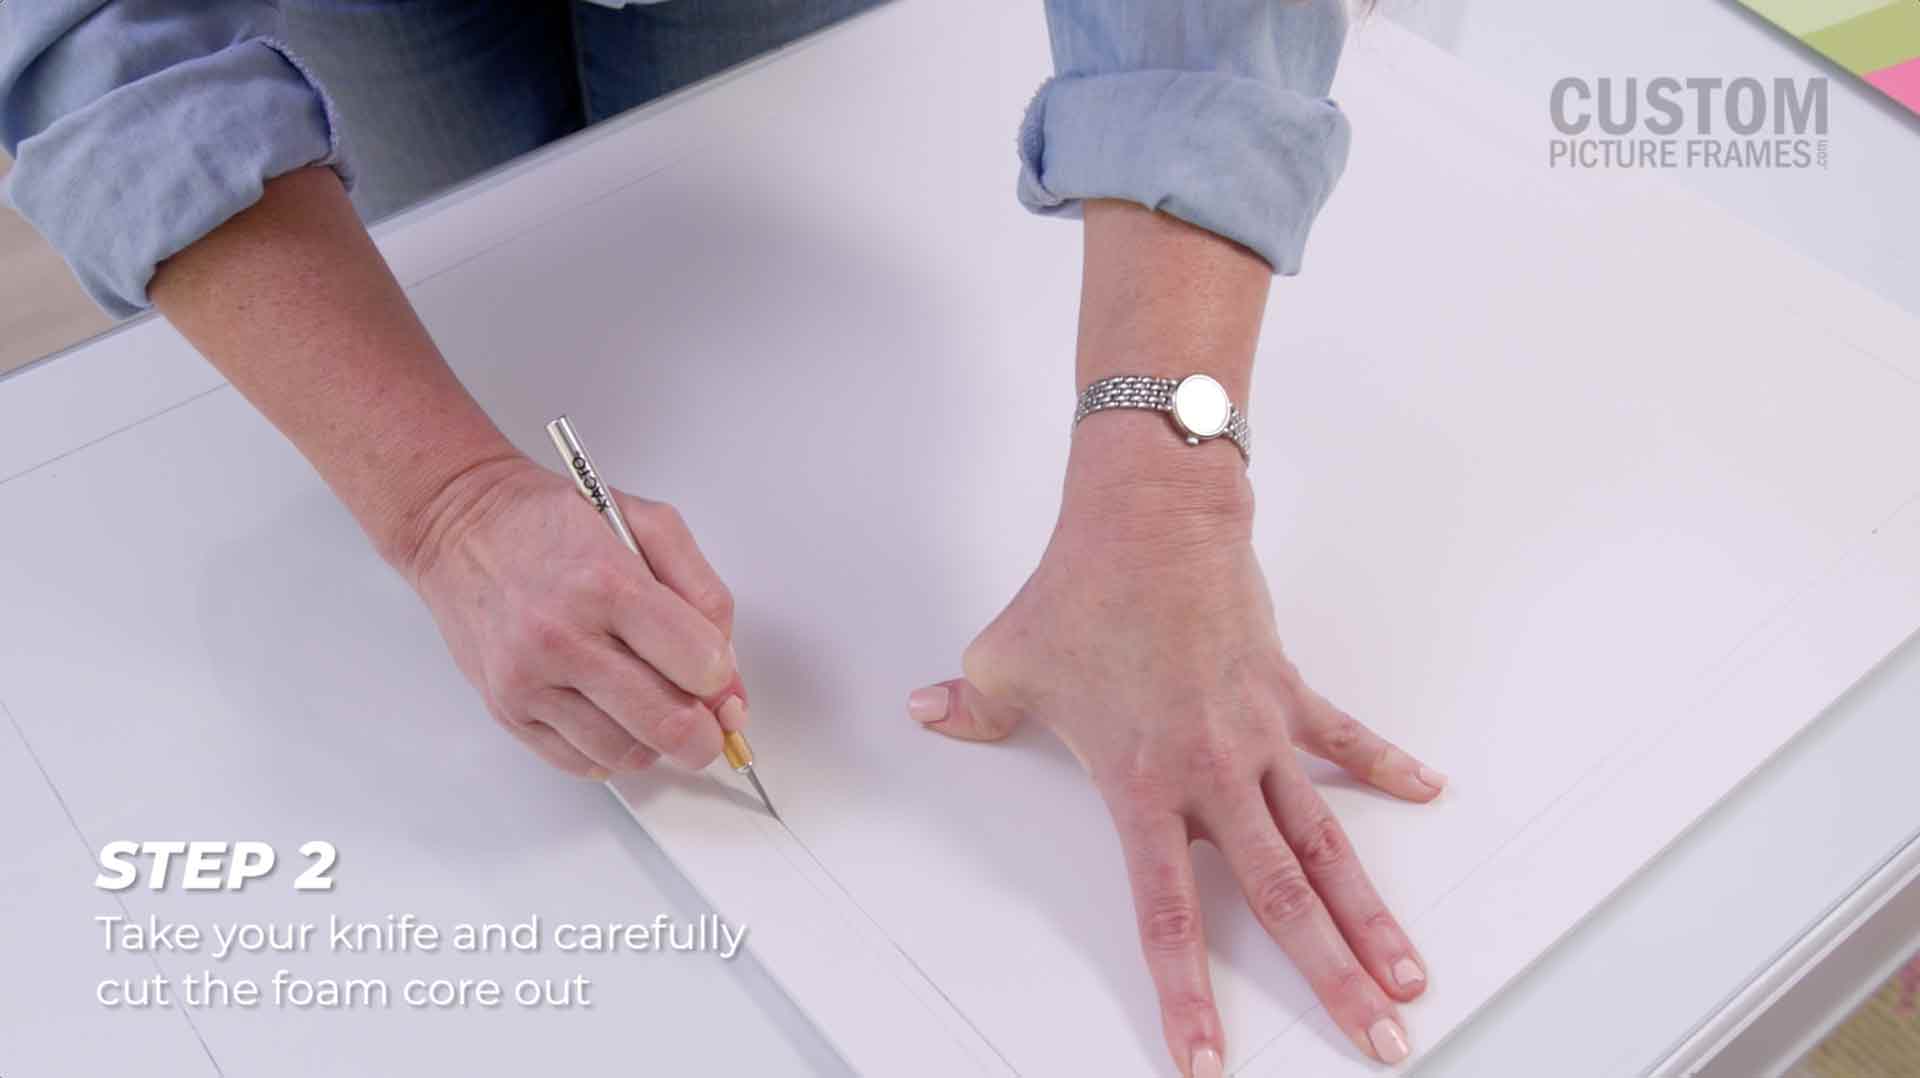
Next, take your knife and carefully cut the foam core out, staying 1/4 of an inch inside of the outline at all times.
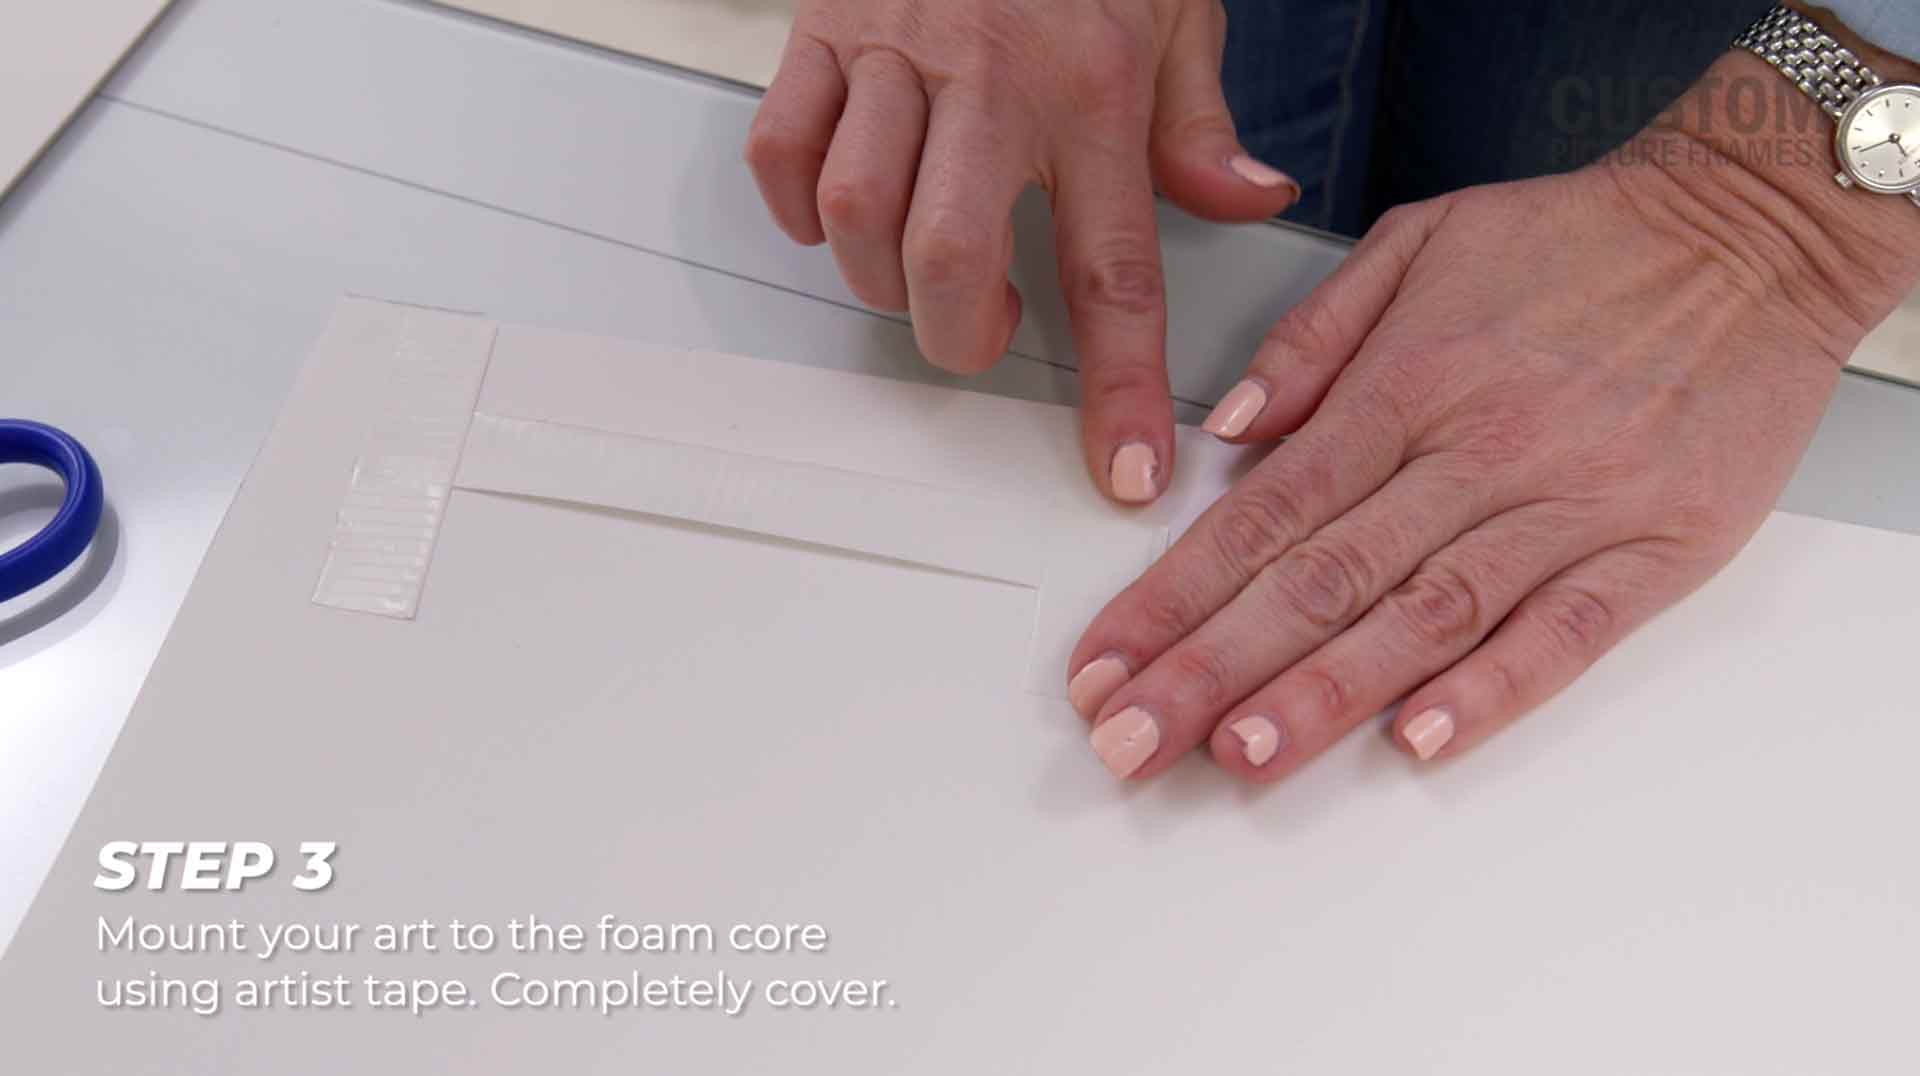
Step 3: Next, mount your art to the foam core using artist tape. Ensure that the foam core is completely covered.
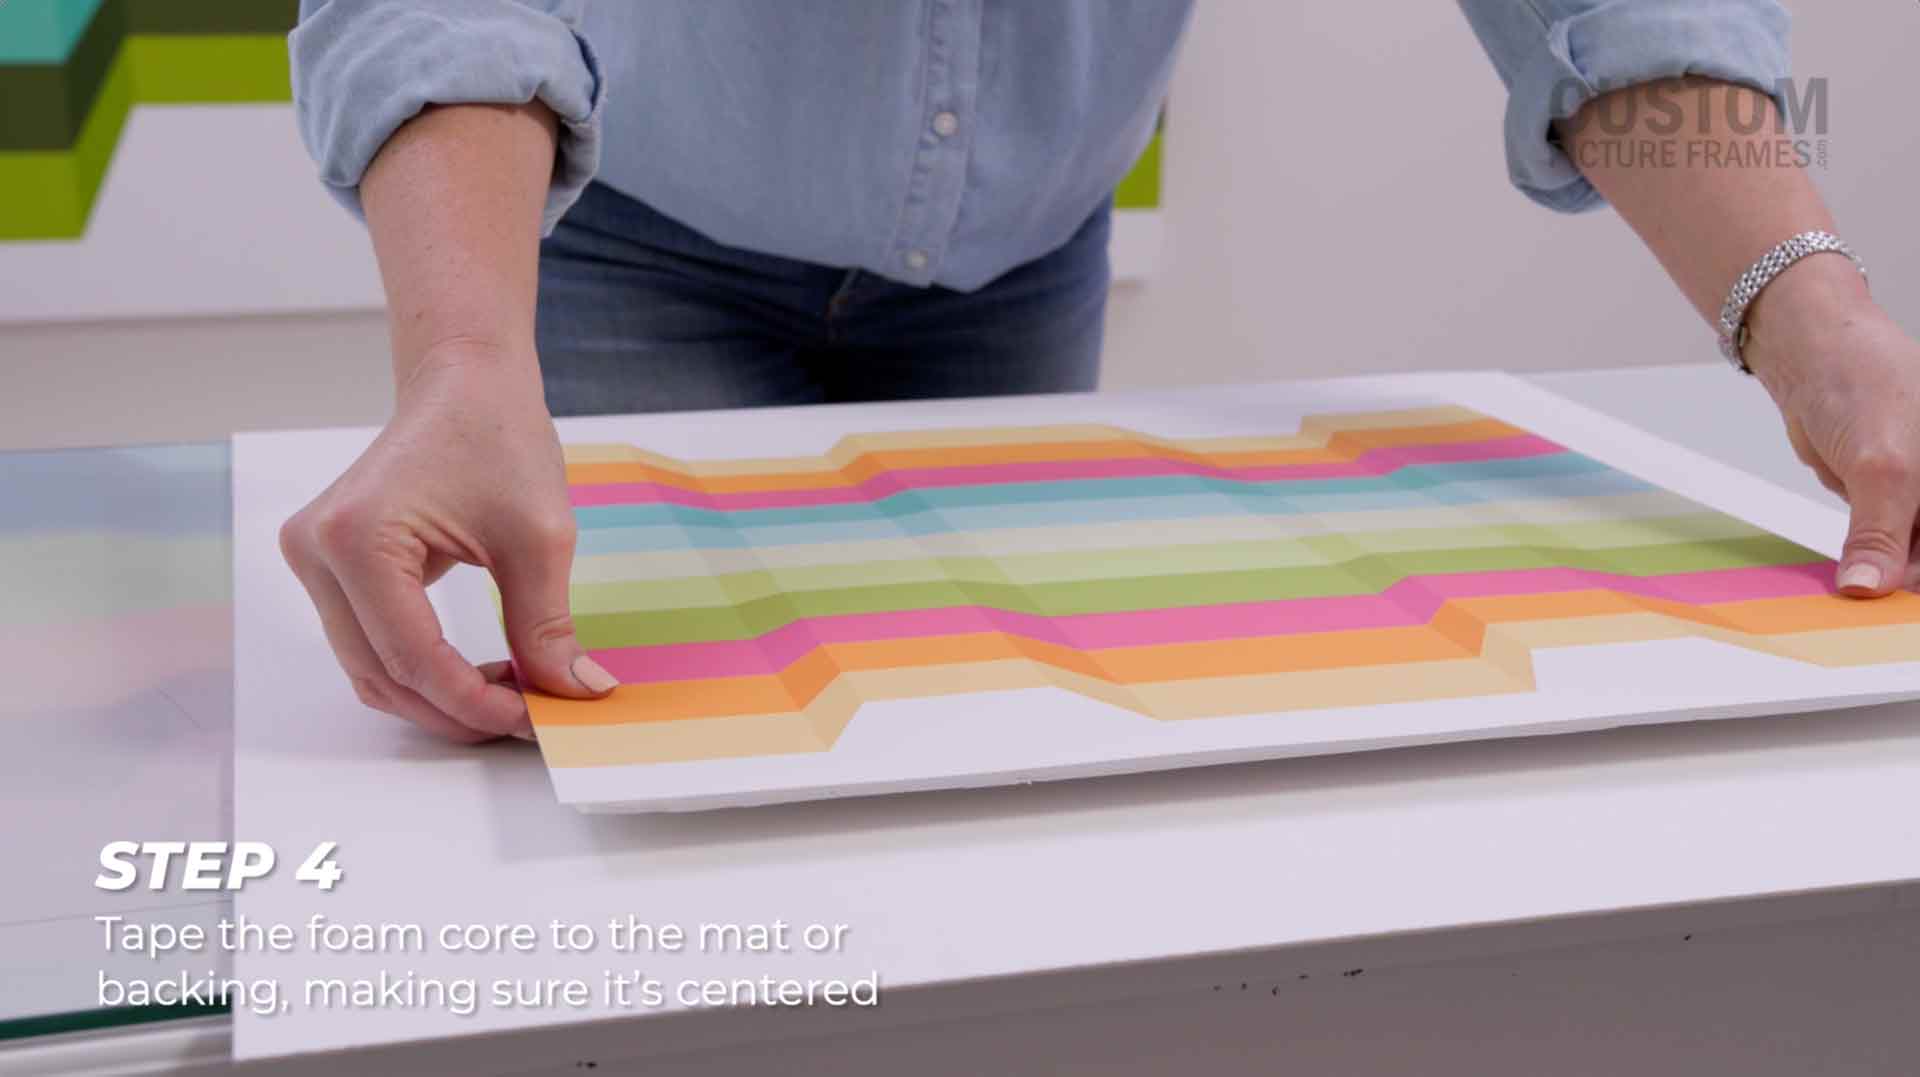
Step 4: Tape the foam core to the mat or backing, ensuring it's centered. You can eyeball your placement or measure to find the center for accuracy.
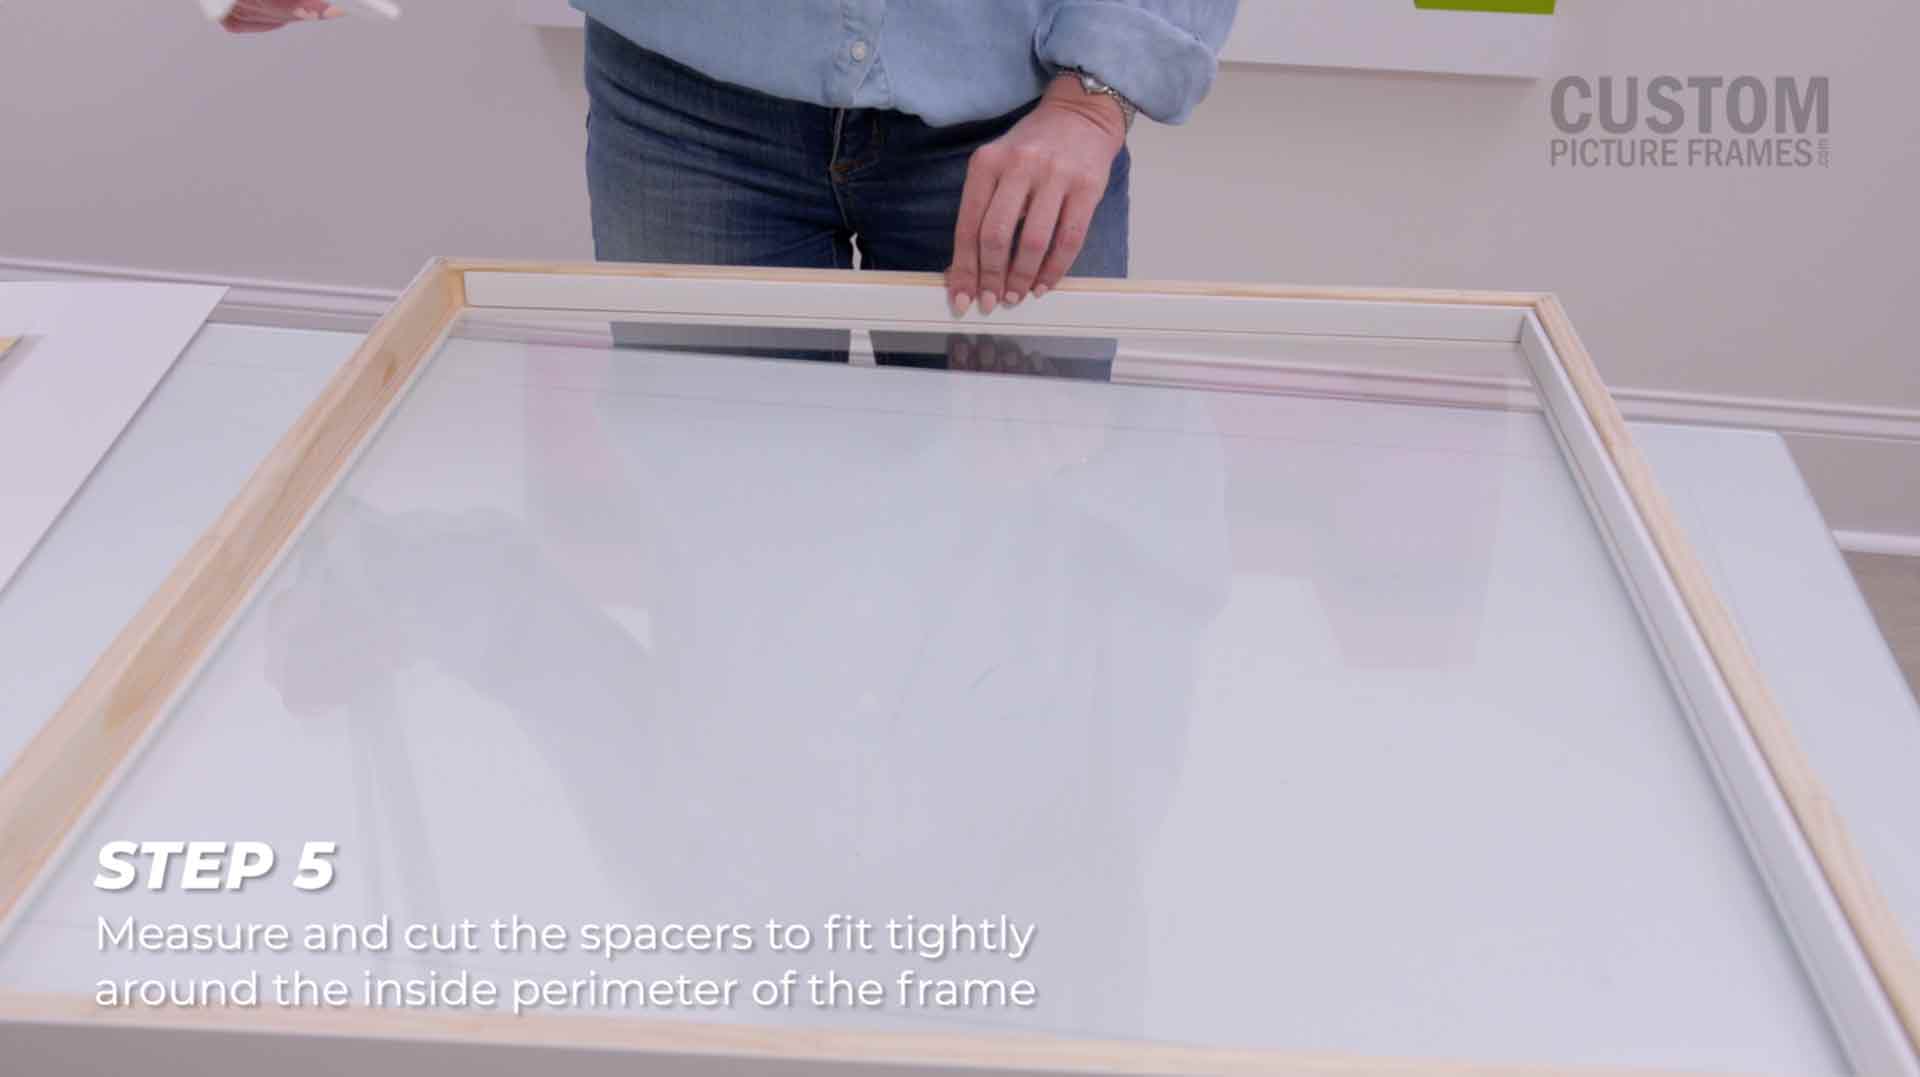
Step 5: Measure and cut the spacers to fit tightly around the inside perimeter of the frame. The spacers are needed so that your art does not touch the glass while in the frame. We recommend using foam core for a seamless fit with the backing. If you order your frame for this float mounting project from our shadow box section, we'll provide and install the spacers for you!
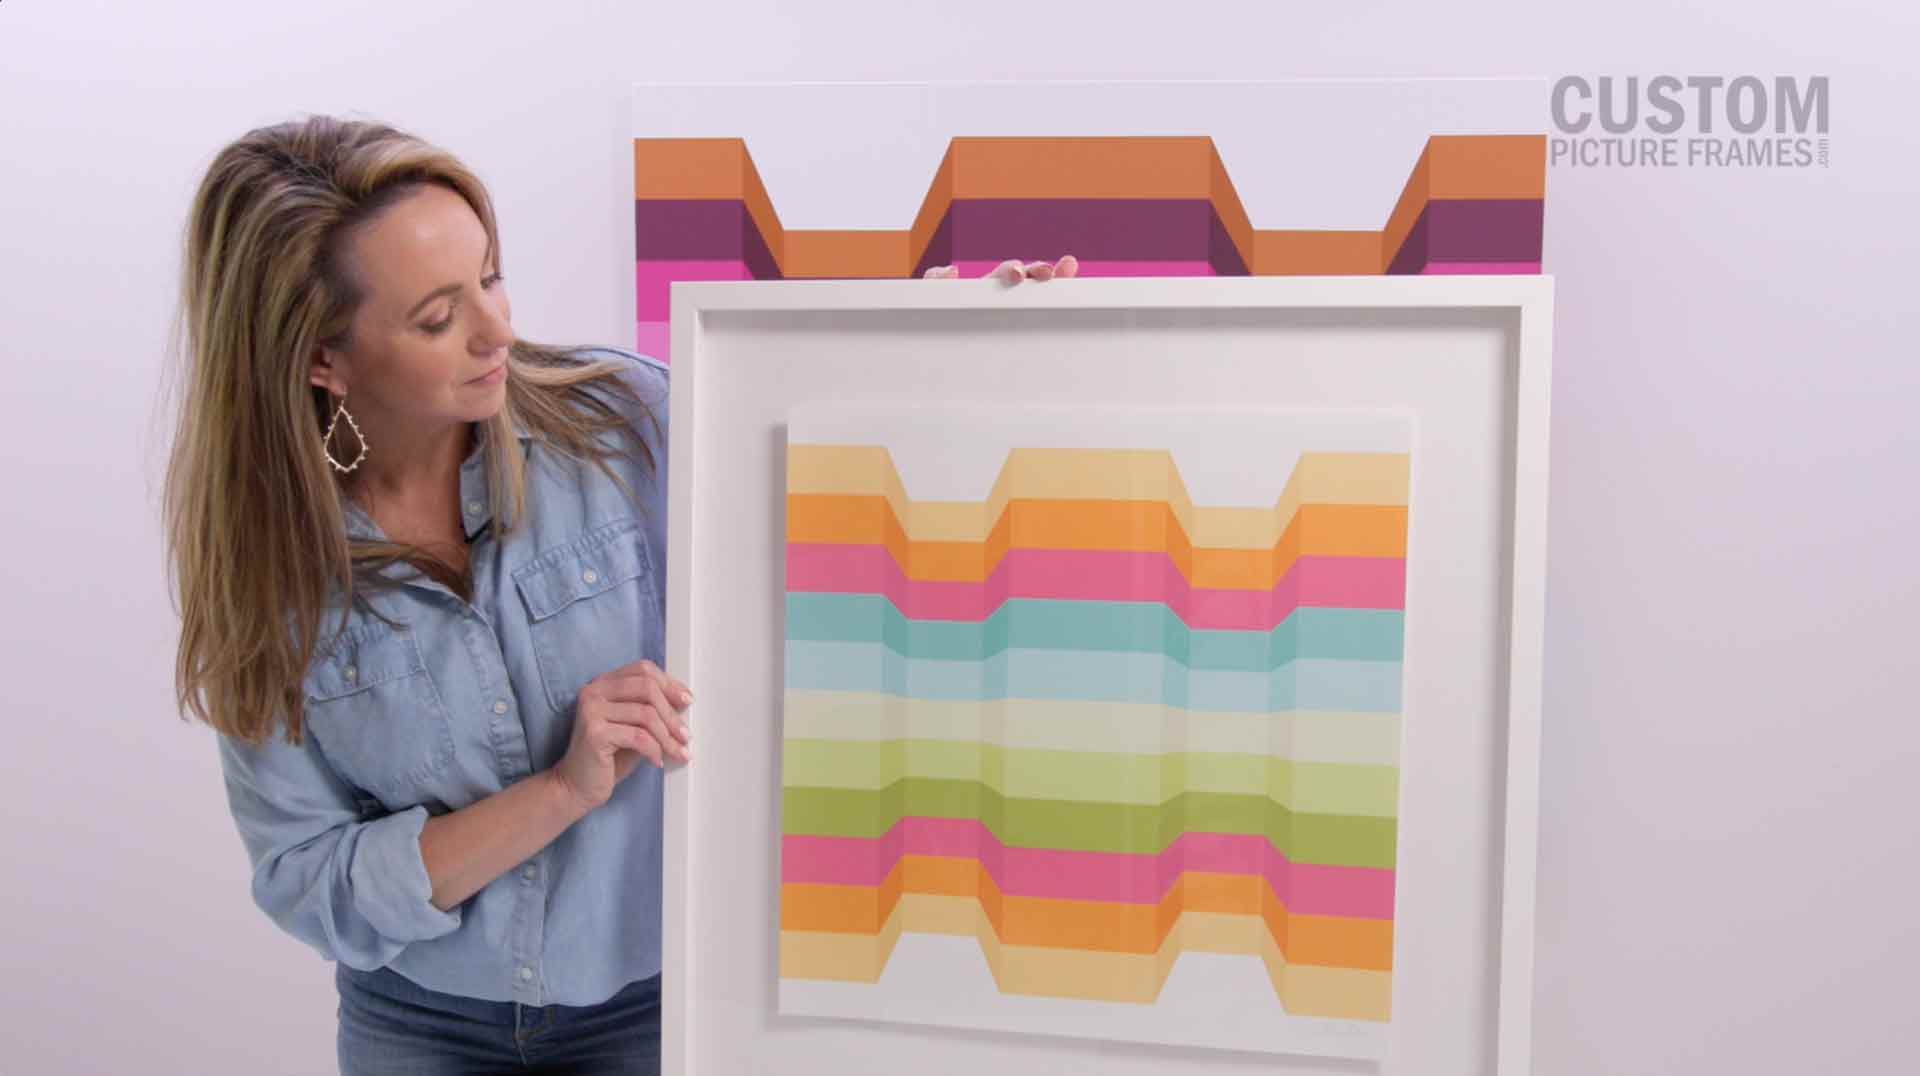
Step 6: Assemble your frame and check out your masterpiece.
Float mounting works with all kinds of art and objects. Find a frame today on our website, where you will find hundreds of frame options with a wide variety of sizes, styles, and depths to choose from to make your floating art come to life.
Special thanks to artist Gina Julian, who lent her art and expertise to help create this tutorial!
About The Author
 |
Brittany DeMauro is the Creative Director here at CustomPictureFrames.com. With a background in creative writing and a passion for all things DIY, you'll find her in the shop crafting content. She can always find space for a fun gallery wall and loves discovering new artists to display around her home (in custom frames, of course!) When she's not creating content for our brand, she can most likely be found binging shows on Netflix with her two cats. |


