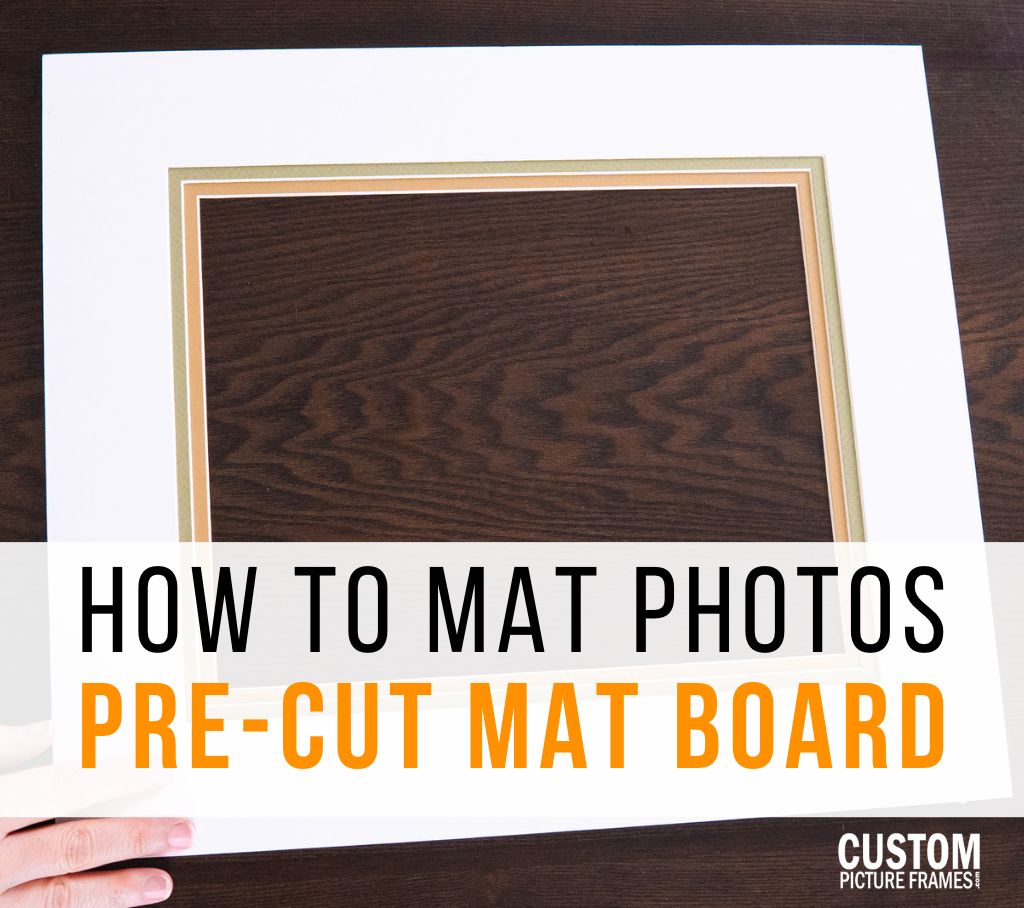
Matting photos and artwork adds a professional touch and elevates their visual impact. While cutting your own mat board can be a rewarding experience, pre-cut mat boards offer convenience and ease. In this blog post, we will guide you through matting photos and artwork using a pre-cut mat board, ensuring a hassle-free and beautiful presentation.
Gather Your Materials
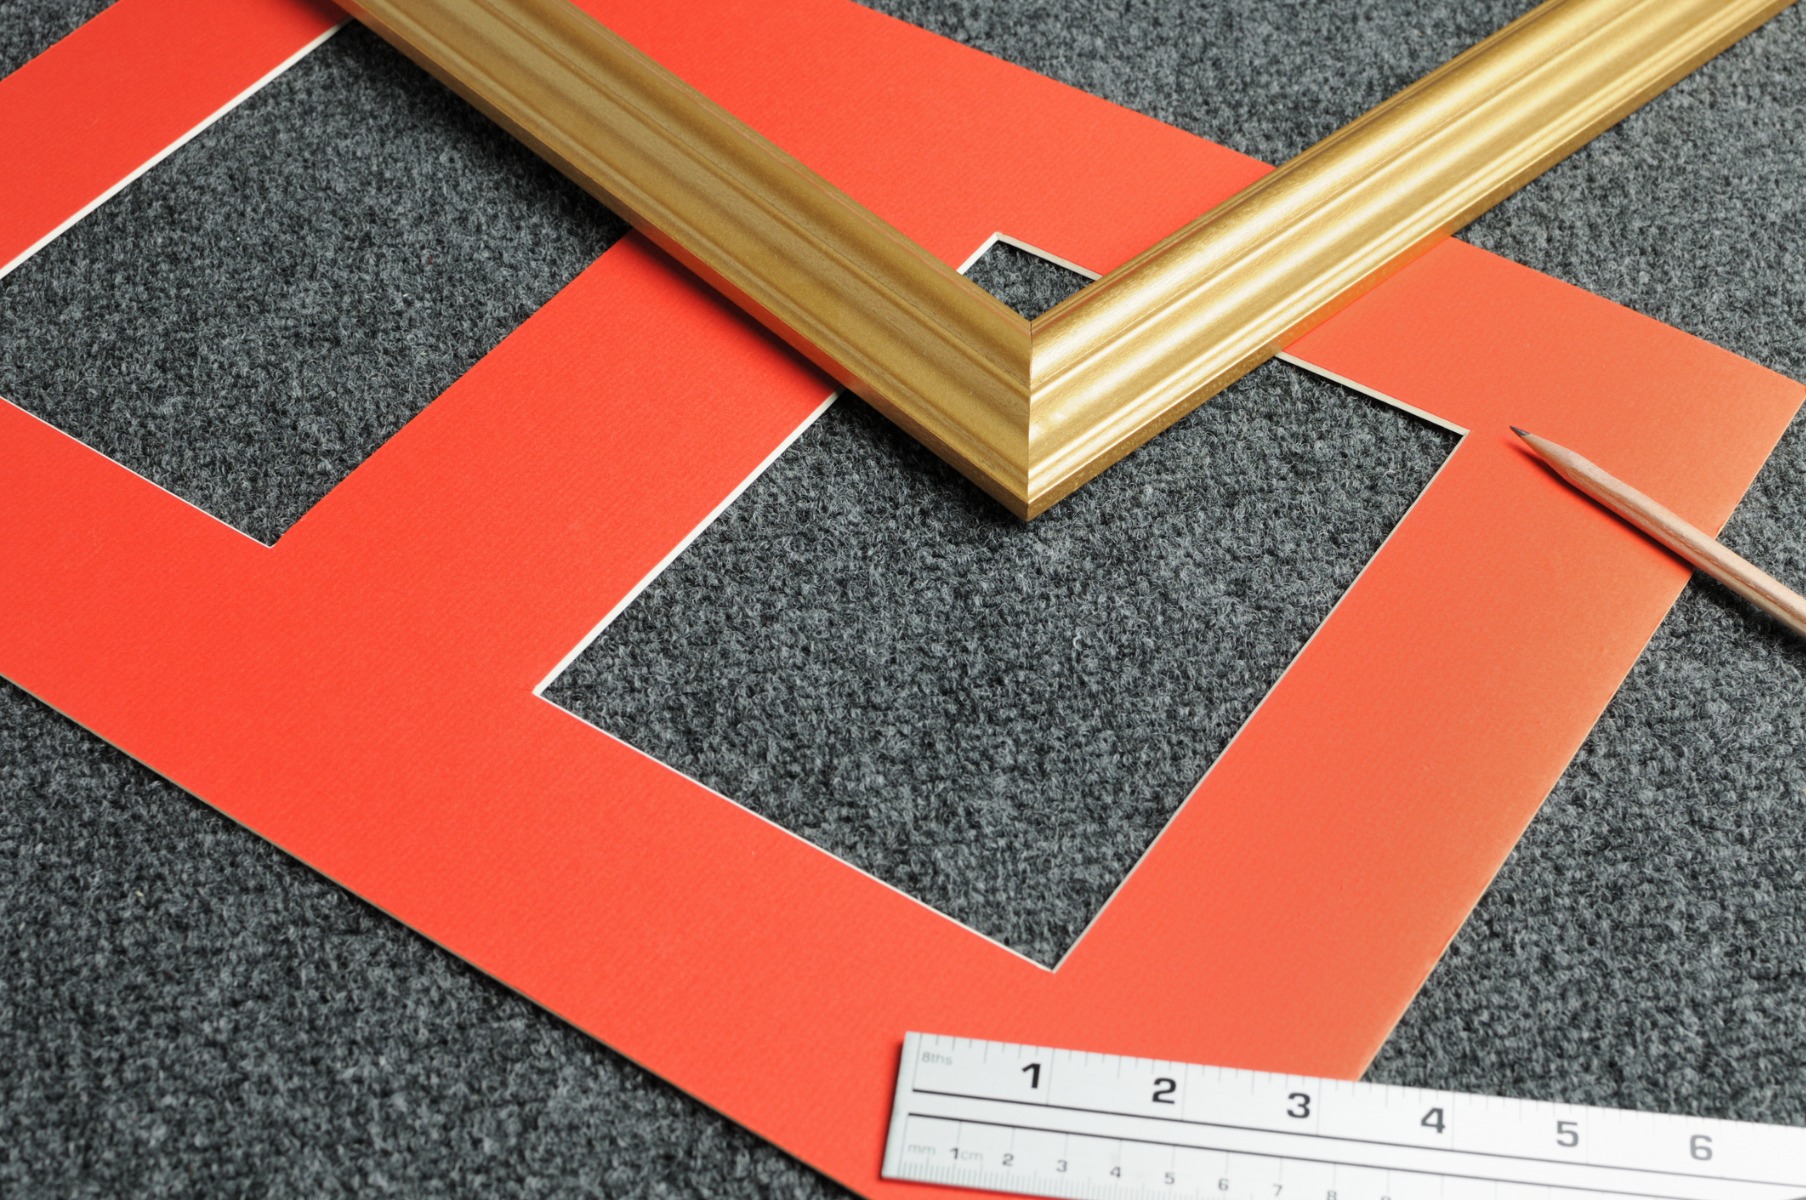
To get started, gather the following materials:
- Pre-cut acid-free mat board in your desired size and color
- Artwork or photo to be matted
- Acid-free tape or adhesive
- Ruler or measuring tape
- Pencil
- Picture frame
Prepare Your Workspace
Find a clean and well-lit workspace to work on your matting project comfortably. Ensure the surface is protected to avoid damaging the artwork or the mat board. Gather all the materials mentioned above to have them on hand as you work through the steps to add a mat to your image.
Measure and Position the Artwork
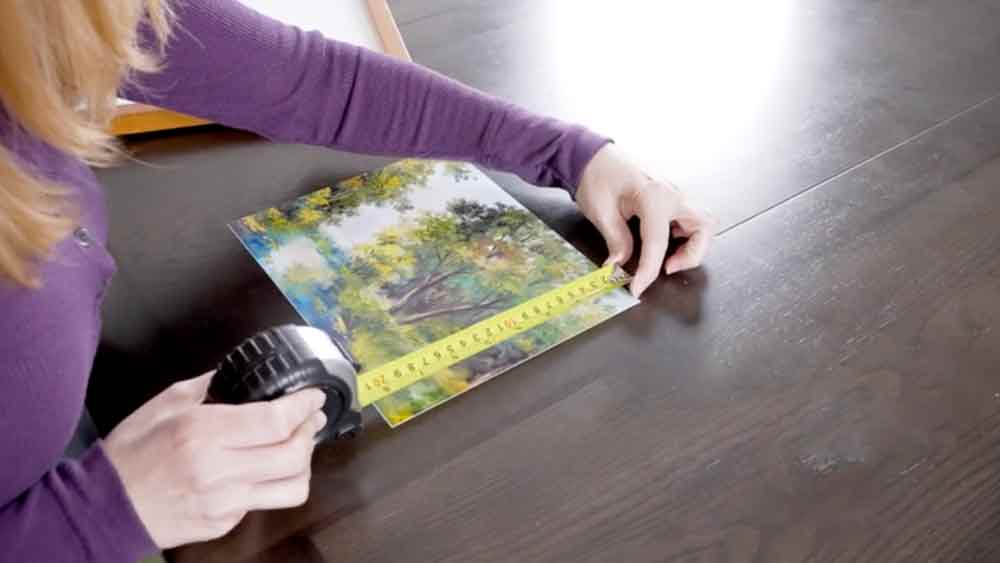
Measuring to purchase an acid-free matboard with the perfect dimensions is easy. Measure the dimensions of your artwork or photo. When ordering online, you may see mentions of exact and non-exact openings. Exact openings mean exactly that! The opening of the precut matboard will be the exact measurements listed. A non-exact opening is more user-friendly and forgiving. It will be cut up to 1/4 inch smaller than the dimensions listed. This allows for you to place the image behind the mat and it will not fall through the opening.
Once you have your mat of choice in hand, place the pre-cut mat board on your workspace and position the artwork on top, ensuring it is centered. Use a ruler or measuring tape to double-check alignment.
Mark the Position
Once the artwork is properly aligned, use a pencil to lightly mark the corners of the artwork on the mat board. This step will serve as a guide for attaching the artwork. This step is important for both exact and non-exact mat openings. Try to be as accurate as possible to ensure your image will sit properly within the mat opening.
Attach the Artwork
Carefully lift the artwork and apply acid-free tape or adhesive to the back, ensuring the tape is positioned along the edges. Place the artwork back onto the marked position on the mat board, gently pressing it down to secure it. Pressing down gently is key here so that the image isn't fully attached just yet. This step will help you minimize any damage to the image or matboard before the final framing.
Inspect and Adjust
After attaching the artwork, inspect the matting to ensure it is aligned and positioned correctly. Make any necessary adjustments before proceeding to the next step. When the positioning is perfect, press the tape down more firmly to ensure the image is safely and securely attached to your mat.
Frame and Display
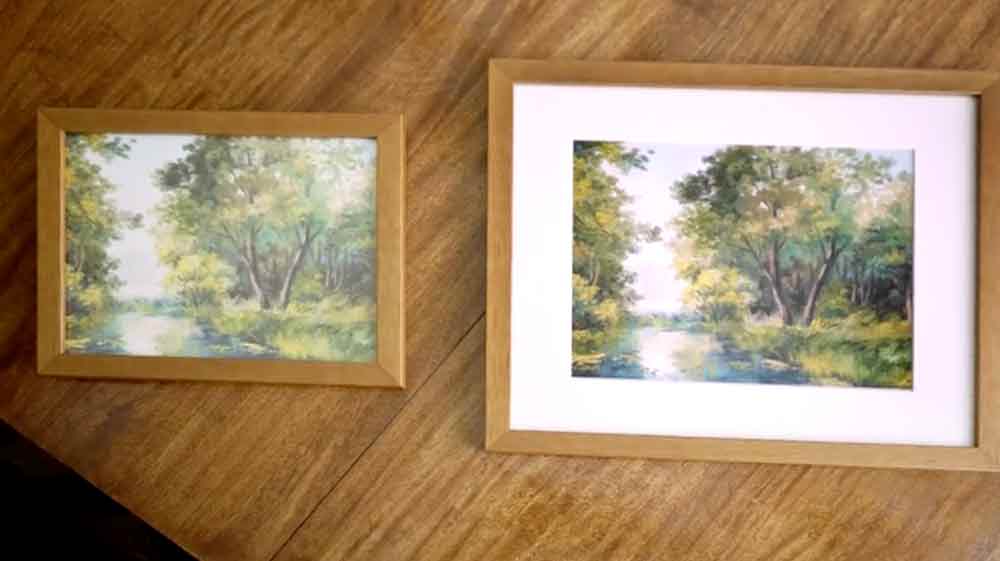
Once you are satisfied with the matting, it's time to frame your artwork. Prepare the frame by removing the back and cleaning the glass or acrylic surface. Carefully place the matted artwork into the frame, ensuring it fits securely. Replace the frame back and secure it in place.
Matting photos and artwork with a pre-cut mat board provides a simplified and convenient approach to achieving professional-looking displays. By following the steps outlined in this guide, you can confidently mat your artwork without cutting your own mat board.
Remember to choose acid-free materials to ensure the long-term preservation of your artwork. With pre-cut mat boards, you can save time and effort while still achieving stunning results. So, gather your supplies, select the perfect pre-cut mat board, and bring your photos and artwork to life with beautifully matted presentations!
Whether you're a beginner or an experienced artist, this method allows you to showcase your creativity and enhance the visual appeal of your cherished pieces. Enjoy the process and embrace the satisfaction of perfectly matted photos and artwork!
About The Author
 |
Brittany DeMauro is the Creative Director here at CustomPictureFrames.com. With a background in creative writing and a passion for all things DIY, you'll find her in the shop crafting content. She can always find space for a fun gallery wall and loves discovering new artists to display around her home (in custom frames, of course!) When she's not creating content for our brand, she can most likely be found binging shows on Netflix with her two cats. |


