FALL SALE | 10% OFF WITH CODE FALLSAVE10 | Offer Details
Skip to content
  • Americana Floral Shadow Box

    May 19, 2021

    Hone your inner Betsy Ross and show your patriotic pride with an Americana Floral Shadow Box featuring those iconic stars and stripes. Our 3-dimensional floral art inspired by the Old Glory herself is the perfect dimensional piece to display in your front entryway or fireplace mantle. The rustic, country-chic look of our Bruno shadow box has a nice depth to allow for your interpretation of the American flag using artificial flowers. Grab our free Stars & Stripes SVG cut file and add adhesive vinyl to the front of the acrylic to finish this masterpiece for Memorial Day or the 4th of July.

    Americana Shadow Box Supplies

    Supplies:


    Americana Shadow Box Step 1

    First, pop off or cut the flowers off the stem pack so they are all individual flower heads. Which method really depends on the flower type, so give them a tug and see if they pop off easily.  

    Americana Shadow Box Step 2

    Remove the foam backer of your shadow box. Arrange the floral pieces on the surface in the desired pattern. Use hot glue to adhere. Tip: the cardboard box your shadow box frame arrived in makes for a great glue surface to protect your table!

    Americana Shadow Box Step 3

    Pop the decorative foam backer back into the Bruno frame. The rustic look of this frame works perfectly for the true Americana theme! Feel free to leave the design as is, or if desired, continue on to add a phrase on the front.

    Americana Shadow Box Final

    Upload your stars & stripes SVG cut file to your die cut machine and cut on permanent or temporary vinyl. Use weeding tools and transfer tape to apply the design to the front of your frame.

    Americana Shadow Box

    Place your Americana Floral Shadow Box on a shelf, entryway table or fireplace mantle and decorate for the patriotic summer season. Surround it with American flags and other patriotic décor.

    Americana Shadow Box

    Or, add the sawtooth hanger on the back and display it in your home for July 4th or all year round.

    Americana Shadow Box

    Americana Shadow Box

    Americana Shadow Box Pinterest


    About The Author

    Tara Nehil Headshot Tara Nehil is author of SpotOfTeaDesigns.com, a lifestyle blog sharing home décor, crafts, party inspiration and parenting lessons learned the hard way. Her graphic design background is evident in the home she lives in and styles with her husband of 8 years and 2 young daughters. Follow her creative journey for photo tutorials, printables, budget-friendly decorating tips and ways to celebrate occasions big and small.
  • Easy Ways to Refresh Your Living Room

    May 05, 2021

    As your online custom framers, we love hearing from our partners about how and why they choose custom framing for their space. This larger-than-life gallery wall was a decor refresh that we were happy to frame for. Keep reading to see what Chancè had to say about her new and improved living room gallery wall!

    Spring is in full swing and if you want to refresh the living room space or any space in your house, I got just what you need. I wanted to refresh our living room area with spring around the corner without spending too much money.

    Living Room Gallery Wall Before 

    I already had a gallery wall but it was not doing much for the space. The picture frames were black, and the size did not go with the space. Since I love gallery walls, I decided to keep the idea but change the pictures and frames. 

    I wanted 20x20 picture frames since our ceilings are very high. Since 20x20 frames are large, I needed the matboards to be 8x8. It was very difficult to find the exact matboards for that frame size. While looking I found Custom Picture Frames and you guys this is the best thing I have ever seen! Custom Picture Frame customizes your picture frames and mats to your exact size. They have several different looks and colors. I went with all white everything because I wanted to brighten up my space.

    Chance with Custom Picture Frames box

    Being that I am a busy mom of three under three this was absolutely perfect. My pictures came already in the frame, ready to hang. 

    Living Room Gallery Wall After

    We decided on 12 picture frames and we couldn’t be happier. We absolutely love the updates. Our living room feels and looks so much brighter. The frames were the perfect size and I cannot get over how easy it was to set up.

    If you are looking for an easy way to update your space, some custom frames might be it for you too!


    About The Author

    Chancè Hindir-Lane Headshot Chancè Hindir-Lane is a mom, a wife and a career woman. Chancè lives in the DMV ( DC, Maryland, VA) area with her husband and 3 babies. Chancè works full time in International Affairs while taking care of her one-year-old twins and two-year-old son. She is passionate about sharing the realities of being a working mom and advocating for women's mental health postpartum. She loves creating a safe and fun space for her family on a budget. Follow her for more at @c.hindir
  • Styled By: Cari Hall

    April 21, 2021

    Gallery walls tend to add so much character, and statement to a room. I’ve always loved them for that reason alone, but they can also be so meaningful when you’re adding family photos to them.

    I have always wanted to have a gallery wall but the task always seemed a little daunting. What size frames? Mating? Photo size? It all seemed overwhelming. I was so excited when I found Custom Photo Frames because they took all of those worries right away! I shared my vision, and they helped me through every step with ordering. I wanted my frames to make a statement and have a timeless look. They helped me bring that to life. I had never actually had any family photos printed before, so these were going to be so special to me. We usually moved around a good bit so I never felt like hanging a bunch of photos. Now I wish I had!

    I had a photo of a friend’s gallery wall I loved so I used that as an idea, so that is how I picked my sizes. For my moulding, I chose a wood color that would blend well with the rest of my decor, and next I picked the hardware for the back. I chose hanging wire since I figured that would be the easiest in the hanging process.

    Gallery Wall Layout

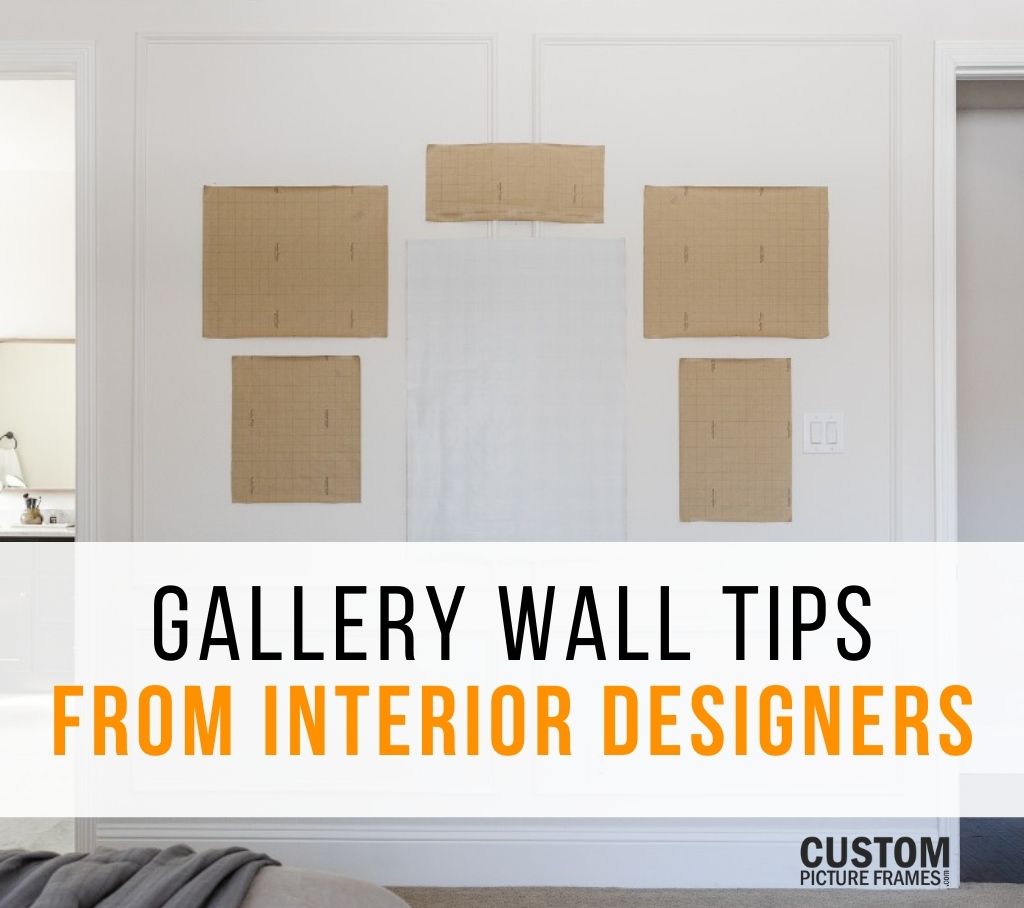
    When the frames arrived I got to work with the help of my family. I ordered a hanging tool which was a huge help in hanging them. Ahead of time, I had cut out pieces of paper that were the same size as my frames so I could get an idea of how I wanted them positioned so there was less work. I left the pieces of paper up on the wall until we measured the space to make sure they were all even in terms of spacing. I used a level to ensure all the photos were straight once they were hung. 

    Finished Gallery Wall

    This gallery wall pulls my entire living space together in such a special way. Not only are they a design statement, but they have such special memories displayed in them. I couldn’t be happier with how everything turned out! 


    About The Author

    Cari Hall Bio

    Meet Cari or @lovinglittlehalls on Instagram —She lives in Middle Georgia with her sweet family of 4! She is married to her husband JJ of 5 years and is mama to Lilah Grey (2) & Rowan Thane (1). She is a lover of home decor, photography, and wellness. On her blog, you’ll get glimpses into her crazy life raising two babies less than two years apart. They aren’t perfect but they love Jesus, they are full of love, and a whole lotta coffee!

  • DIY Shelf Frame

    April 14, 2021

    When you can’t decide between a picture frame or shelf for your wall space, consider doing a combination of both! This unique DIY helps declutter your tabletop and showcase your collections in a fun way. The wide moulding and rustic metallic façade of the Dakota shadowbox really glams up even the most dreary of spaces. See how this DIY Shelf Frame is the perfect way to blend art and function using a beautiful shadowbox as the base using our tutorial. 

    DIY Shelf Frame Supplies

    Supplies:

    • (2) 6” x 9” Dakota Shadowbox Frames
    • Scrap Wood
    • Acrylic paint – white, champagne gold metallic
    • Paintbrush
    • Heavy-duty adhesive, like E6000
    • Foam Core or thin scrap of wood

    First, determine which way you want to hang your frames. Cut scrap pieces of wood to fit inside each frame. We chose to hang one frame vertically and one horizontally so our wood pieces for the shelves measured 3.5” x 5.5” and 3.5” x 8.375”.

    Paint Shelves

    Paint your scrap pieces of wood with a layer of white paint, then top that with a champagne gold metallic paint. Tip: Consider using a contrasting paint color to bring in a pop of color on your wall!

    Glue Shelves

    We found that a small piece of foam core was needed inside the Daktoa shadowbox in order to make the shelf fit flush when inside the frame. Cut and adhere this piece in place then adhere the wood shelf on top, making the end flush with the inside edge of the shadowbox. We recommend a heavy-duty adhesive, like E6000.

    Hang Shelves

    To hang, hammer in a sawtooth hanger on the back or Command strips made for a heavyweight since these shelves will hold additional weight.

    Frame Shelves Hung 

    Fill your shelves with whatever trinkets, treasures or collections you wish!

    Frame Shelves Filled

    Now, all your items are easily accessible but aren’t occupying space in your bathroom, office, or bedroom.

    DIY Frame Shelves Styled

    Consider mixing in DIY shelf frames with traditional framed art for a unique gallery wall option!

    DIY Frame Shelf Final

    DIY Frame Shelf Pinterest


    About The Author

    Tara Nehil Headshot Tara Nehil is author of SpotOfTeaDesigns.com, a lifestyle blog sharing home décor, crafts, party inspiration and parenting lessons learned the hard way. Her graphic design background is evident in the home she lives in and styles with her husband of 8 years and 2 young daughters. Follow her creative journey for photo tutorials, printables, budget-friendly decorating tips and ways to celebrate occasions big and small.
  • Choosing Standard vs Non-Glare Acrylic

    April 07, 2021

    When it comes to customizing your picture frames, there are a lot of options to consider. Picking the perfect frame style for your image or space is important but it's only one part of the custom framing puzzle! The glazing, or glass, you choose to finish your custom picture frame with can have a huge impact on the finished look.

    Let's talk about your options! We offer frame-grade acrylic to complete your picture frames and shadow boxes. This acrylic is lightweight and offers UV protection for your photographs, art and keepsakes. It's the reason we're able to keep costs low and frames light for easy hanging!

    There are two options available when selecting your frame's glazing: standard acrylic and non-glare acrylic. While both options provide the same protection and lightweight finish to your frame, there is a noticeable difference in how your images will look paired with each option.

    To help you choose the right acrylic for your picture frame, we thought it would be best to put our standard acrylic and non-glare acrylic to the test side-by-side. And even we were shocked by the results.

    Eclectic Gallery Wall

    You might remember this eclectic gallery wall by Shelley from Crazy Wonderful. We asked her to shoot the same frames in the same spot swapping out our acrylic options.

    The standard acrylic will get you a classic finish. Your photographs or art prints will stay protected behind the clear surface. Crisp and clear, you'll have yourself a stunning display. However, the reflective surface won't showcase your images the best from all angles or in all spaces.

    Standard Vs Non-Glare Acrylic Side-By-Side

    As you can see in these side-by-side comparisons, the standard acrylic reflects everything whereas the non-glare acrylic is reflection-free from all angles.

    Now that we understand the differences between our acrylic options, which should you choose?

    There's no wrong answer here. Both of our frame-grade acrylics are perfect for completing your custom frames. It just depends on two things: personal preference and where you'll be displaying your frame.

    Standard Acrylic Gallery Wall Reflection

    As you can see from Shelley's pictures, here gallery wall is across from windows. No matter which way the windows face, there will be a reflection in the standard acrylic. However the more direct sunlight they'll get the harsher the glare will be.

    Non-glare acrylic helps to minimize those reflections. The overall finish is more matte and flat. When installed correctly, you'll have a crystal clear display without a glare. So if you're considering displaying your new custom frames across from windows, the non-glare option is a perfect choice! (Because of the material, we can only offer non-glare acrylic in picture frames and not our shadow boxes as well.)

    Standard VS Non-Glare Acrylic Comparison

    We hope this helped shed some light on our glazing options. For more information about our acrylic and materials, you can visit our materials page. And for any questions you might have when customizing your frames, our customer service team is here to help!


    About The Author

    Brittany DeMauro Headshot Brittany DeMauro is the Creative Director here at CustomPictureFrames.com. With a background in creative writing and a passion for all things DIY, you'll find her in the shop crafting content. She can always find space for a fun gallery wall and loves discovering new artists to display around her home (in custom frames, of course!) When she's not creating content for our brand, she can most likely be found binging shows on Netflix with her two cats.